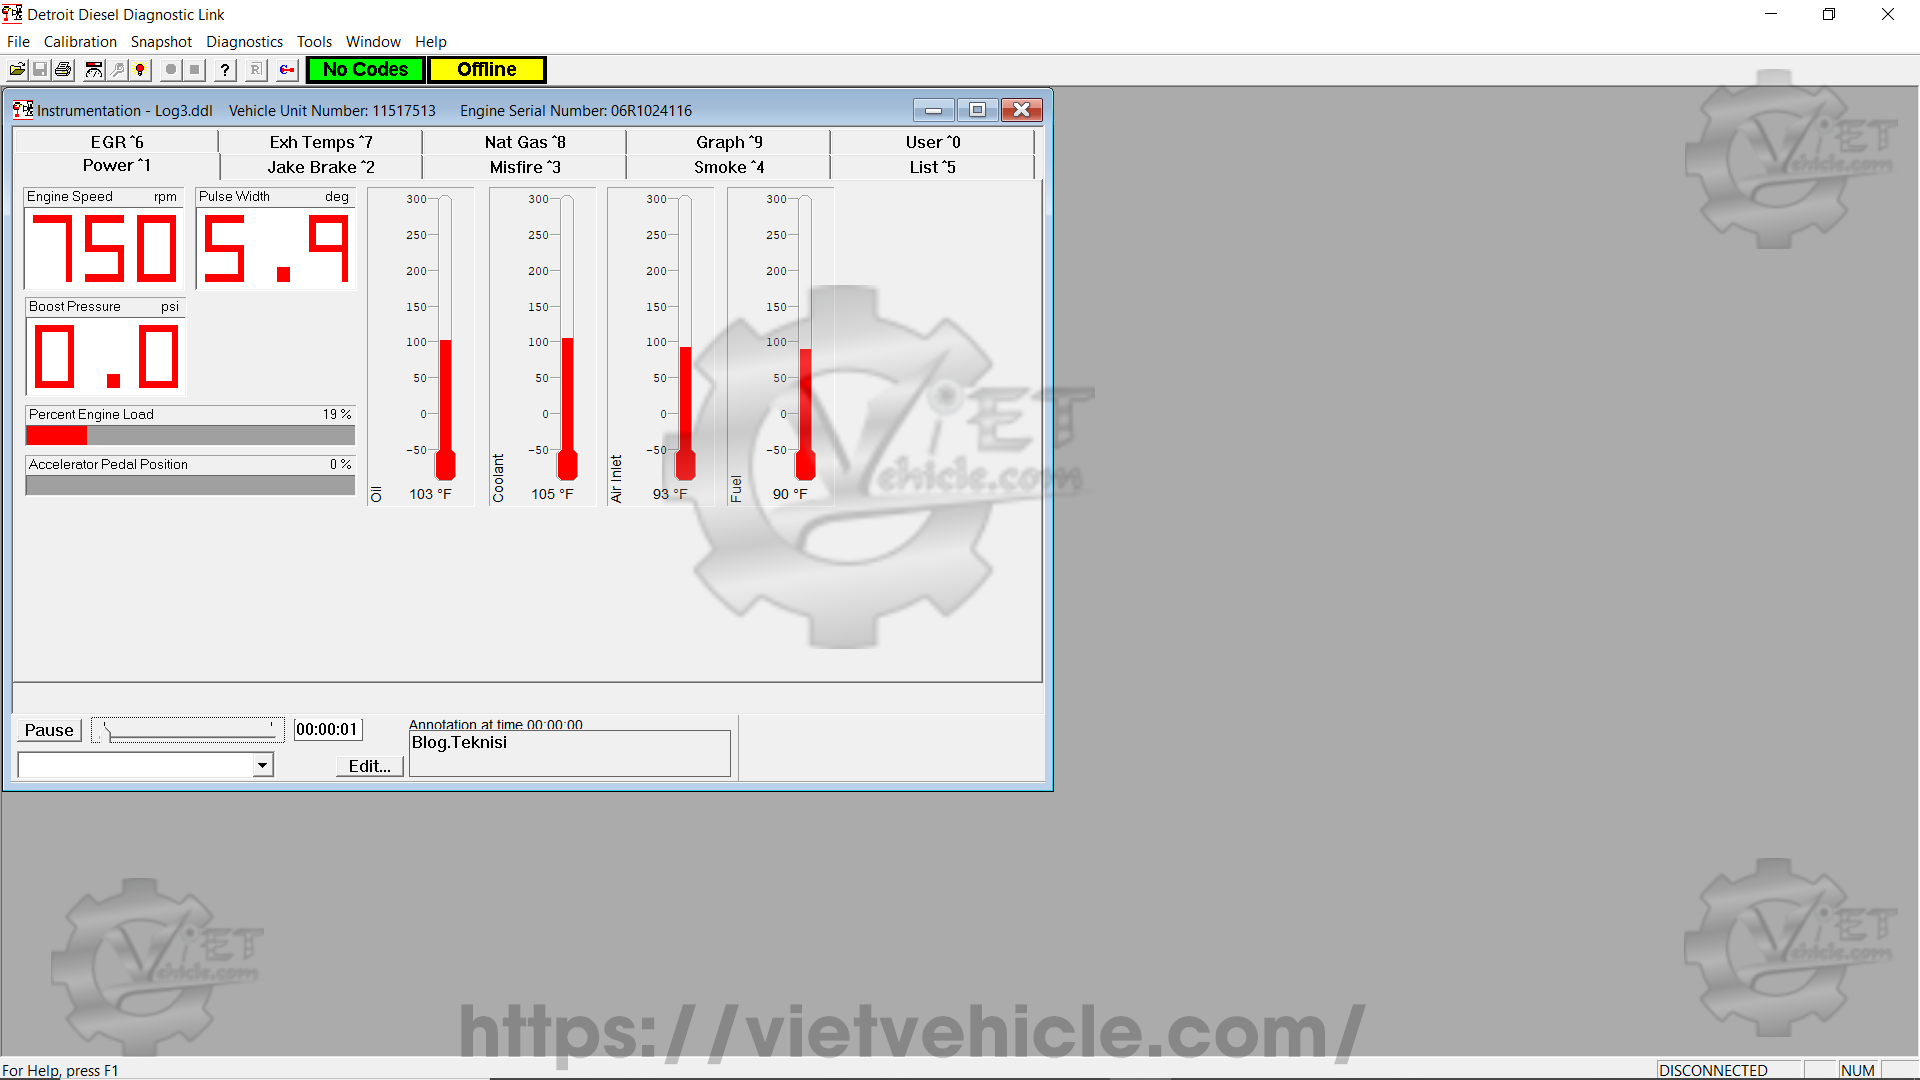
Figure 1.1 – Instrumentation (Snapshot)
To start a new Snapshot:
1). Connect DETROIT Engine (Series 60) using Detroit Diesel Diagnostic Link (DDDL v6.50).
Read More: How to Connect DETROIT Engine using Detroit Diesel Diagnostic Link (DDDL).
2). Choose New from the Snapshot menu or press Start Recording to open the Snapshot control window.
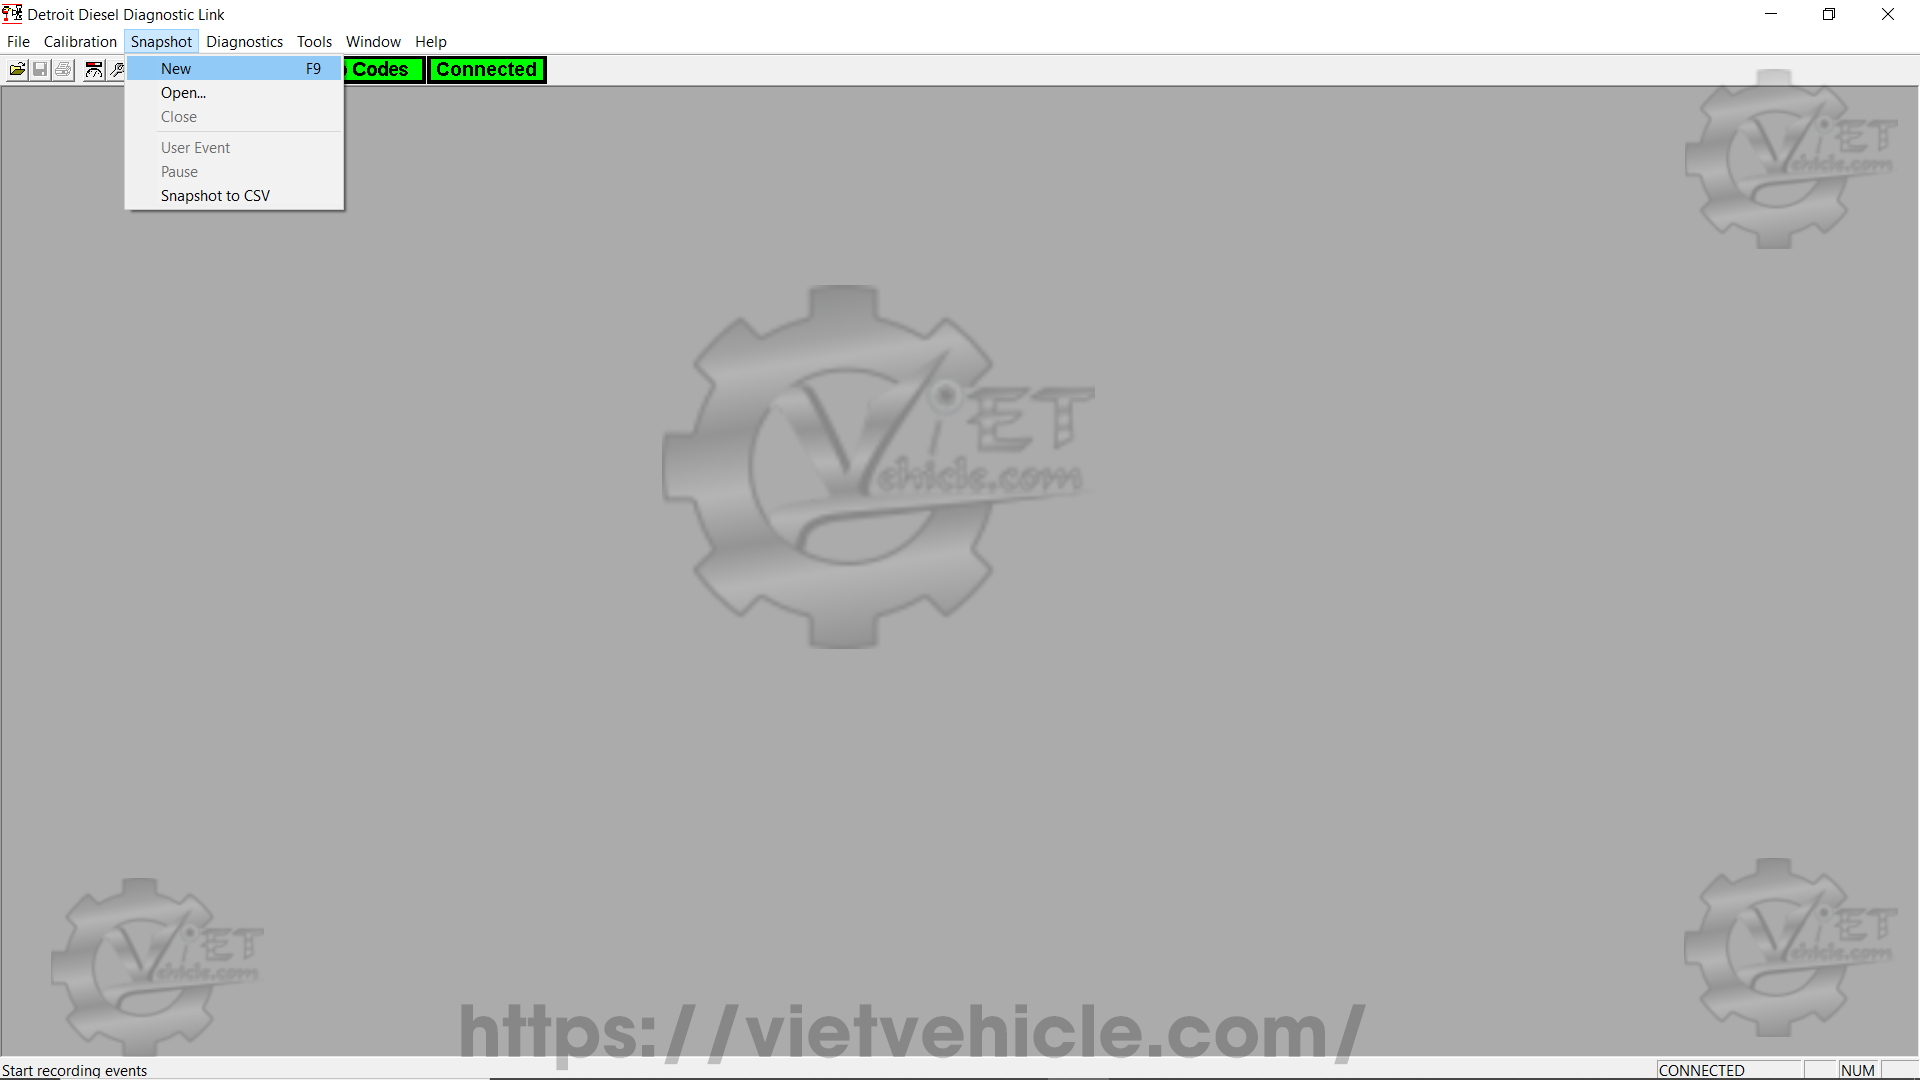
Figure 1.2 – Snapshot (New)
3). Data from the ECM is recorded immediately after choosing New or pressing Start Recording.
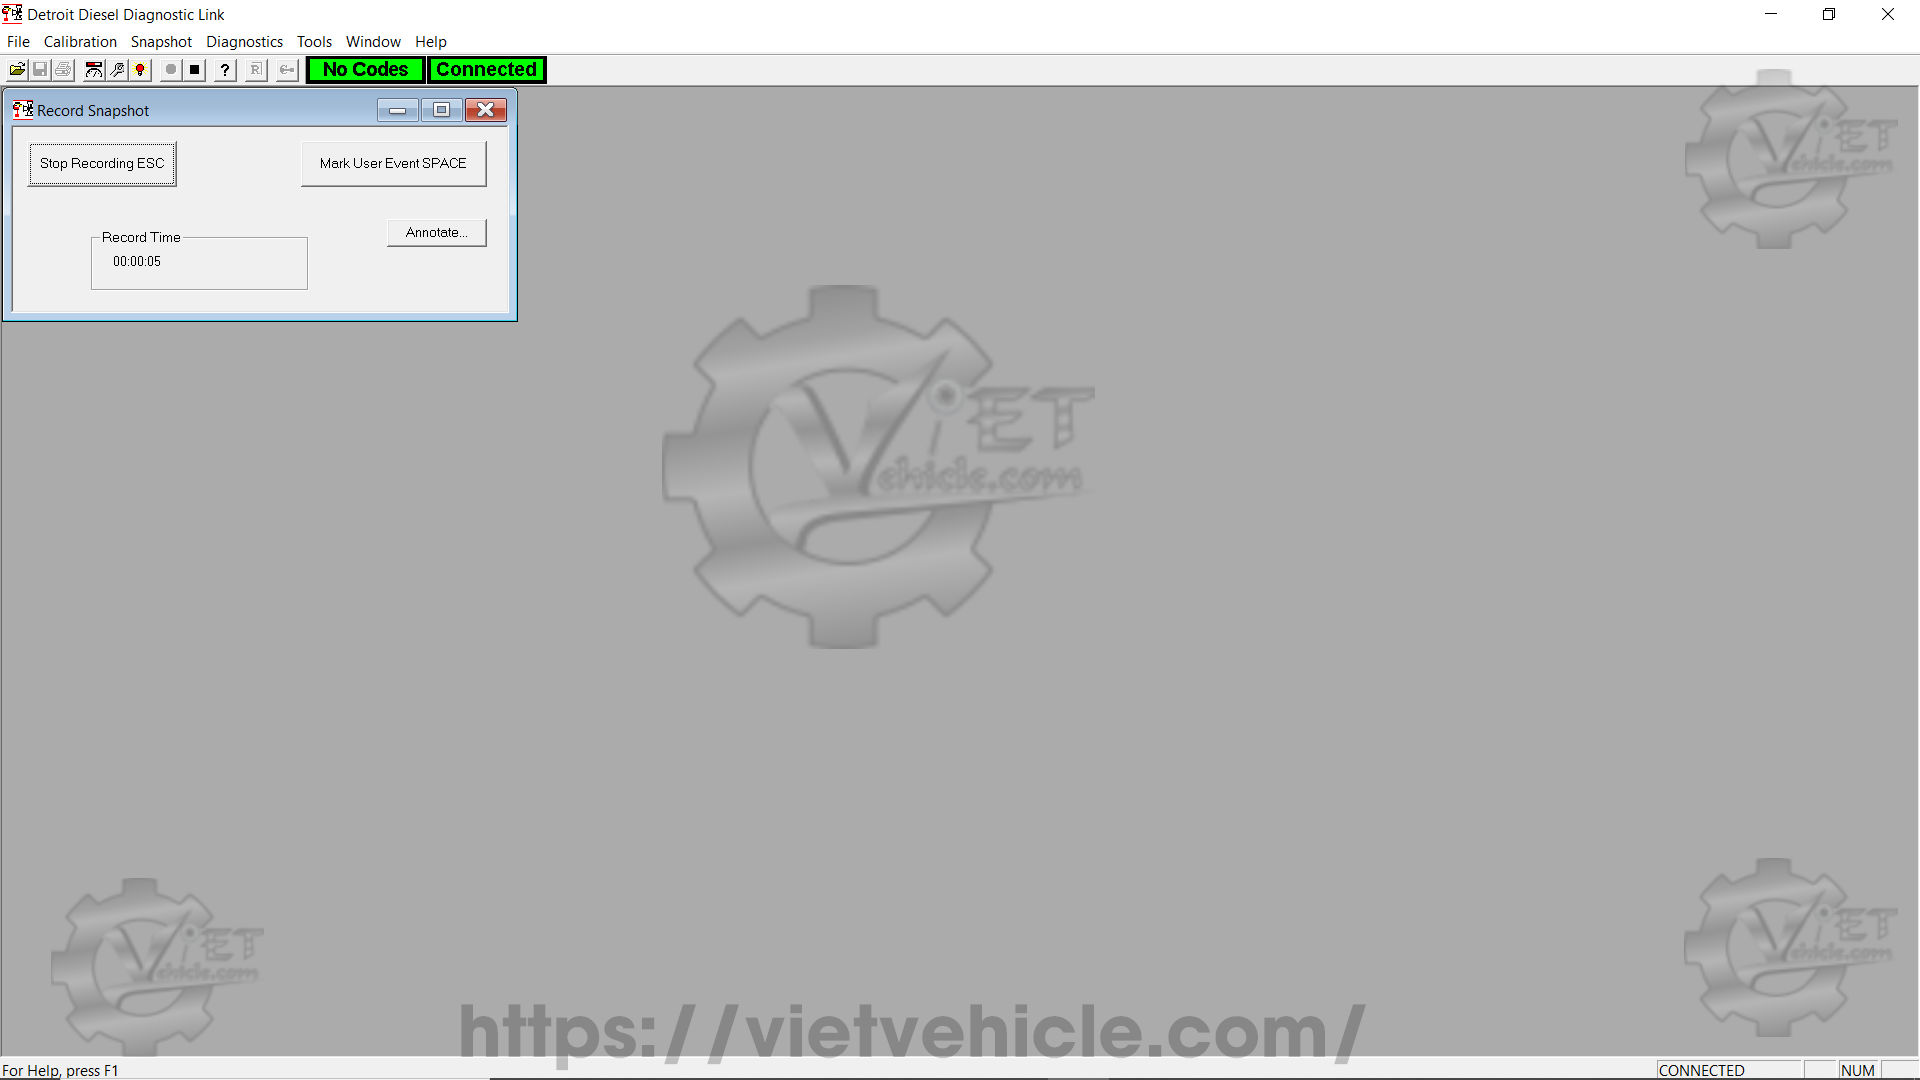
Figure 1.3 – Record Snapshot (Start Recording)
4). To mark a specific moment in the recording:
→ Press Mark User Event, tap the Spacebar, or select User Event from the Snapshot menu.
→ To add annotations, press Annotate to open the Annotation Editor.
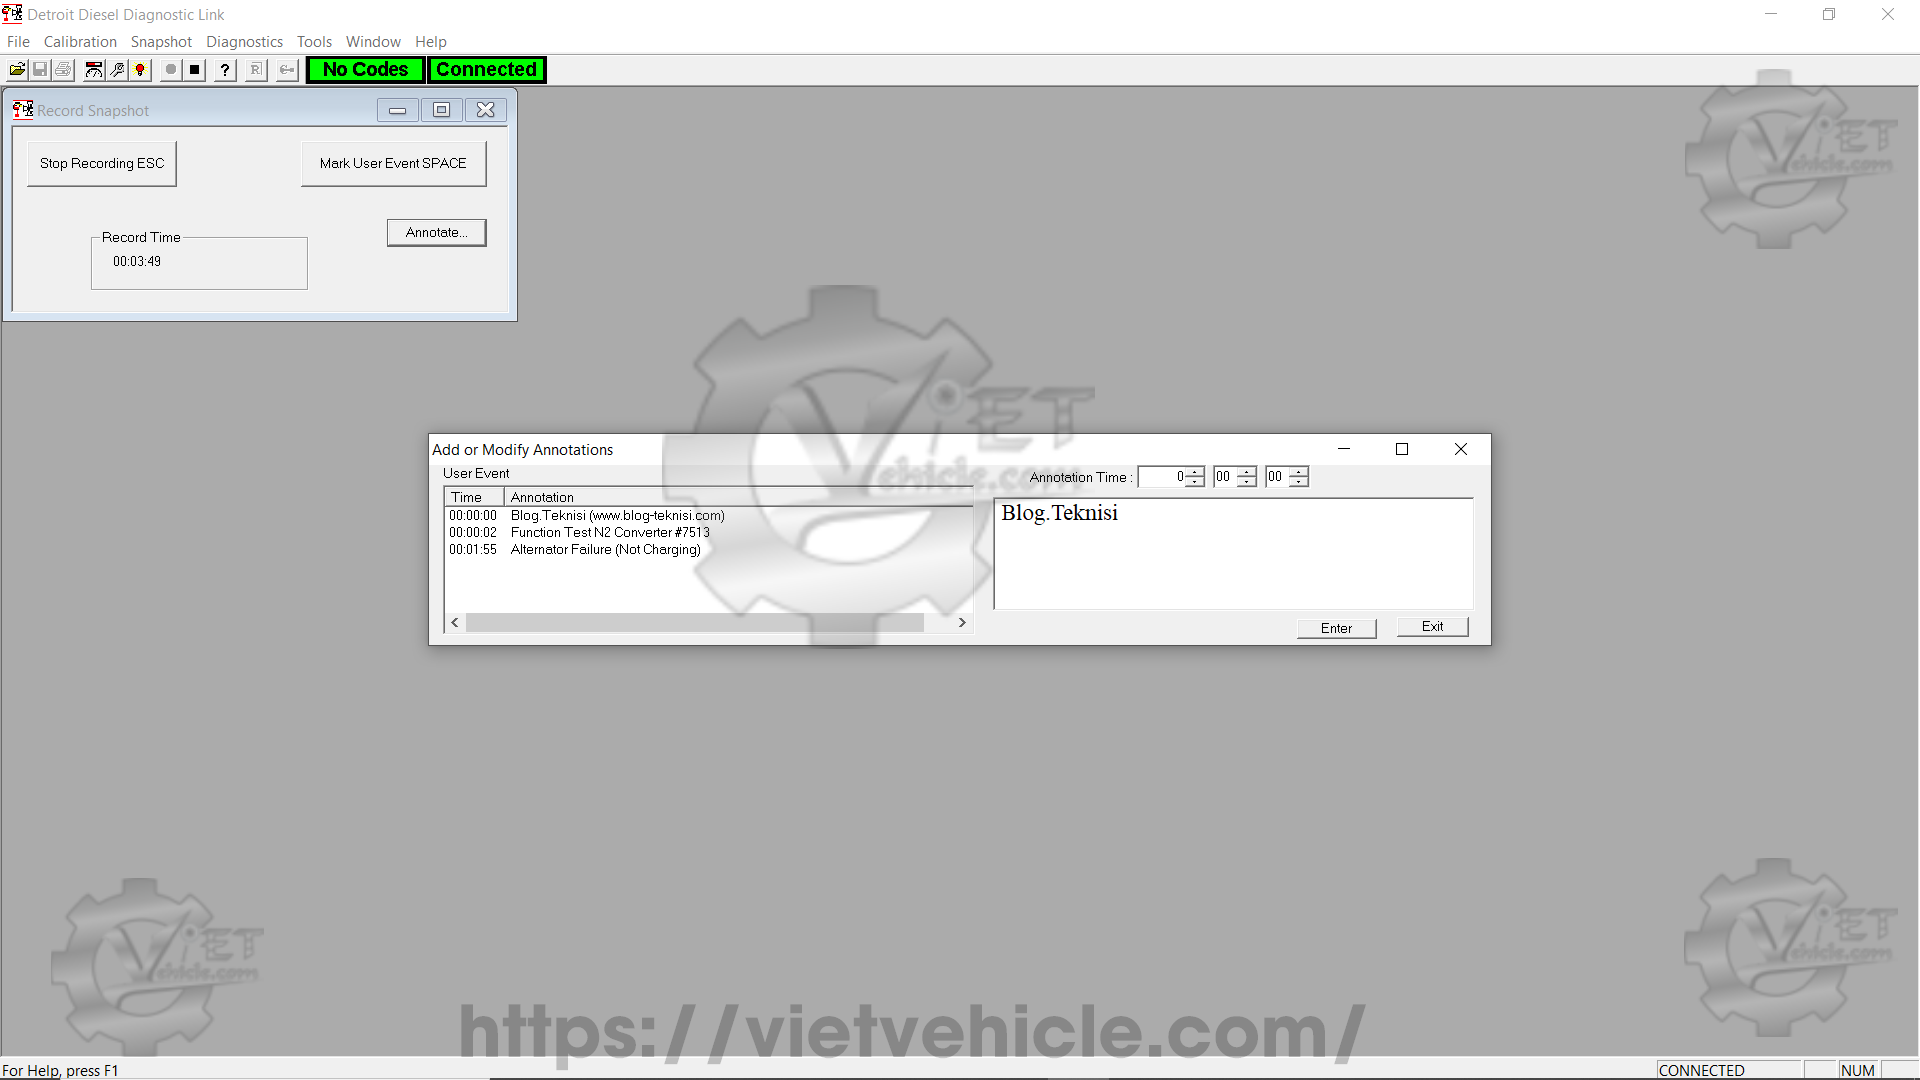
Figure 1.4 – Add or Modify Annotations
Annotation Editor
To create a new annotation:
a). Enter the Hours, Minutes, and Seconds from the start of the snapshot in the Annotation Time fields.
b). Type the annotation text in the right-hand box.
c). Press Enter.
To edit an annotation:
a). Click on the annotation to select it—its time and text will appear in the editing fields.
b). Modify the text in the right-hand box.
c). Press Enter.
To close the Annotation Editor, press Exit.
5). To stop recording, press Stop Recording, tap Escape, or select Close from the Snapshot menu.
Closing and Saving a Snapshot
The action of Close depends on whether you’re recording a new snapshot or viewing a saved one. If closing the Instrumentation or Fault Codes window, a prompt asks whether to save the snapshot.
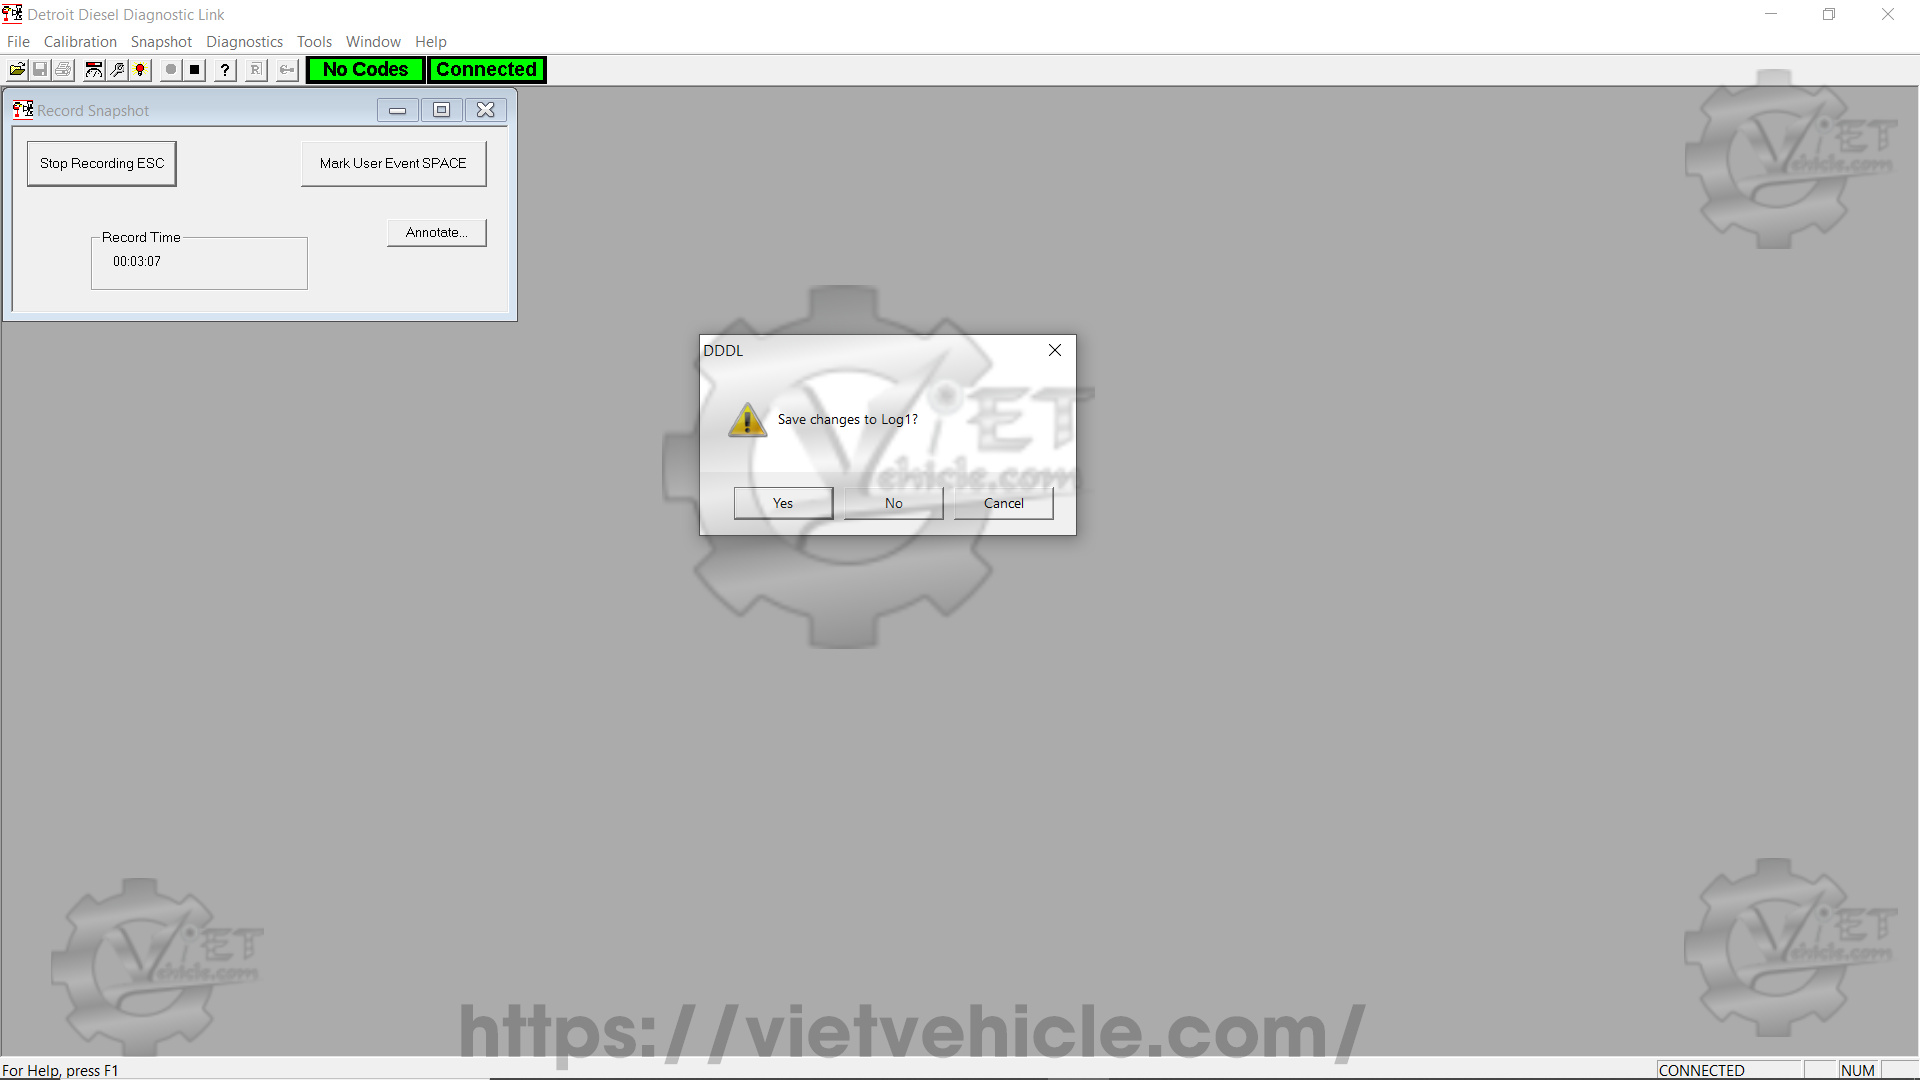
Figure 1.5 – DDDL (Save changes)
Press Yes to open the Save As dialog box.
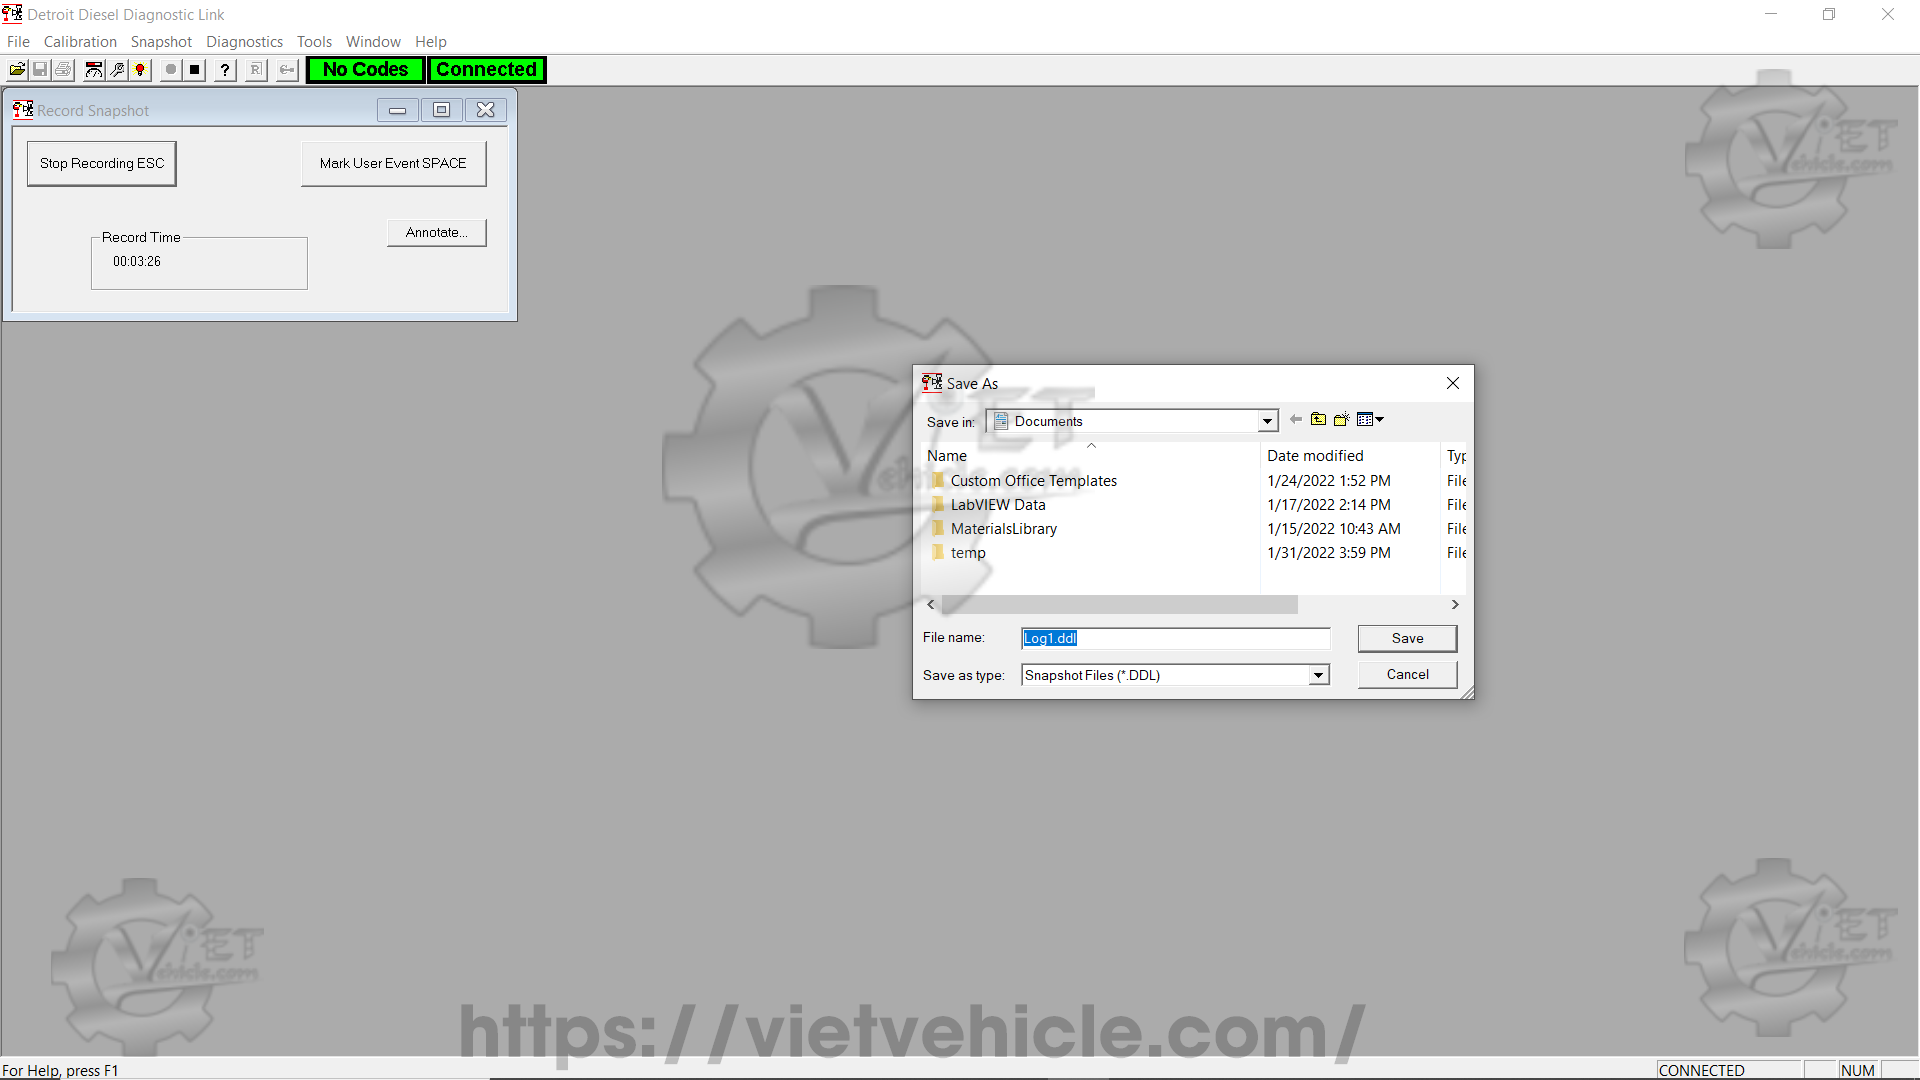
Figure 1.6 – Save As (Snapshot)
Use this dialog to:
→ Select a folder.
→ Enter a File Name.
→ Press Save.
Opening a Saved Snapshot
To open a previously saved snapshot:
a). Choose Open from the Snapshot menu.
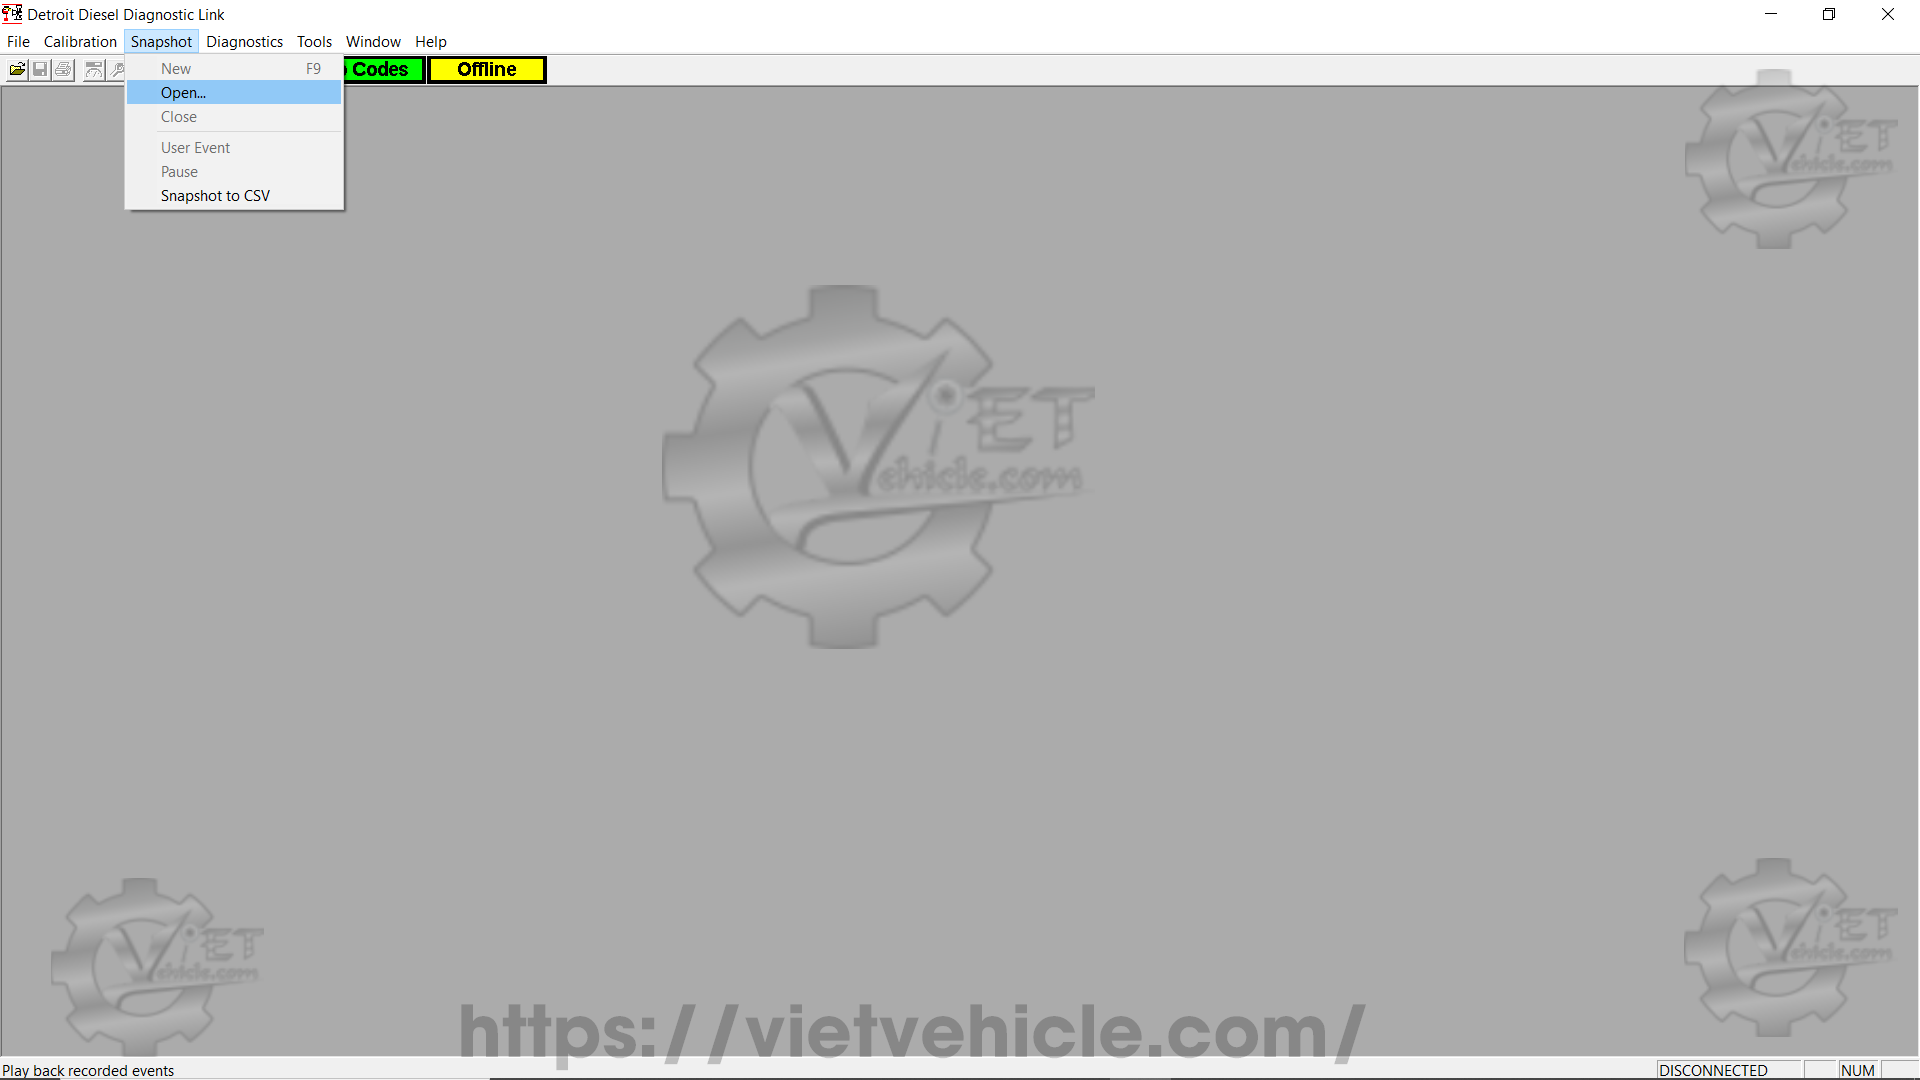
Figure 1.7 – Snapshot (Open…)
b). Select the correct folder, choose the desired file, and press Open.
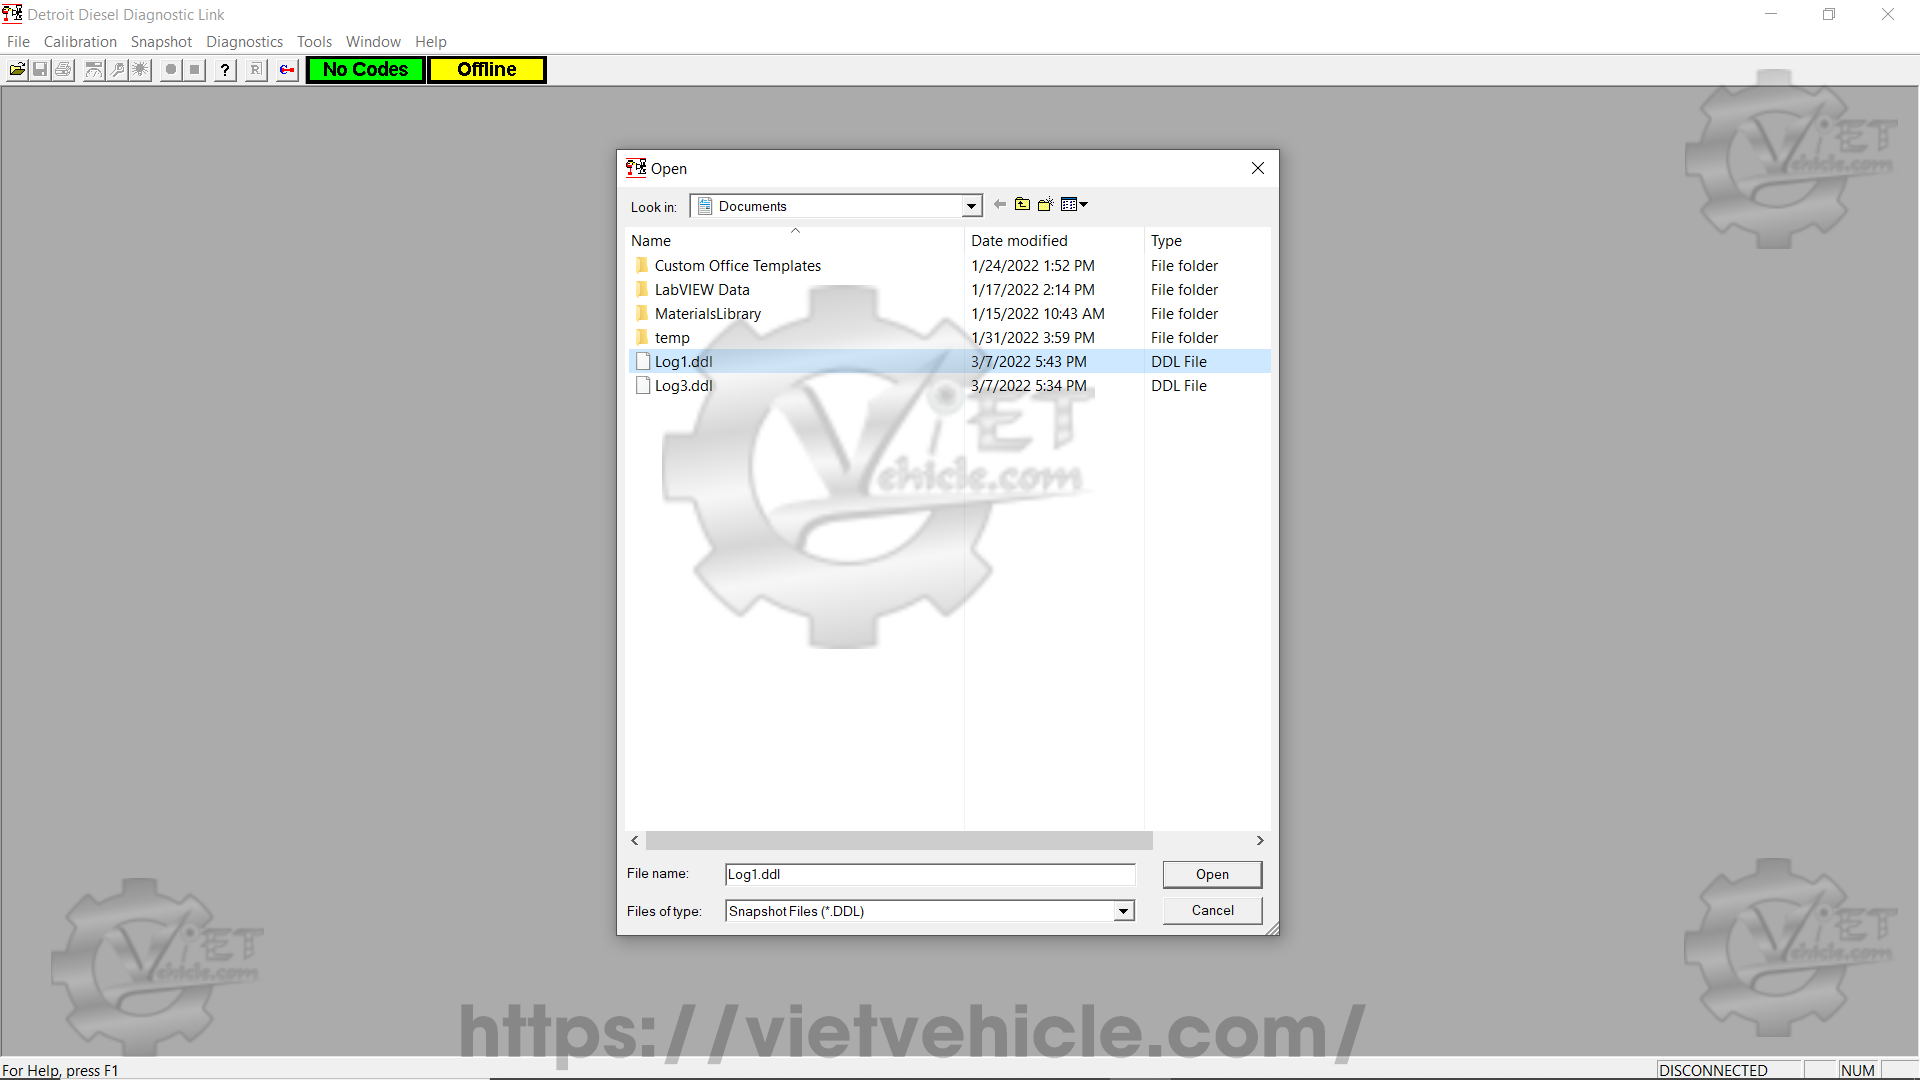
Figure 1.8 – Open Snapshot File (.ddl)
c). When opening a file:
→ If the Instrumentation window is open, it will display recorded data with replay controls added.
→ If the Fault Codes window is open, it will show recorded fault codes with replay controls.
→ If neither window is open, the Instrumentation window will open with replay controls.
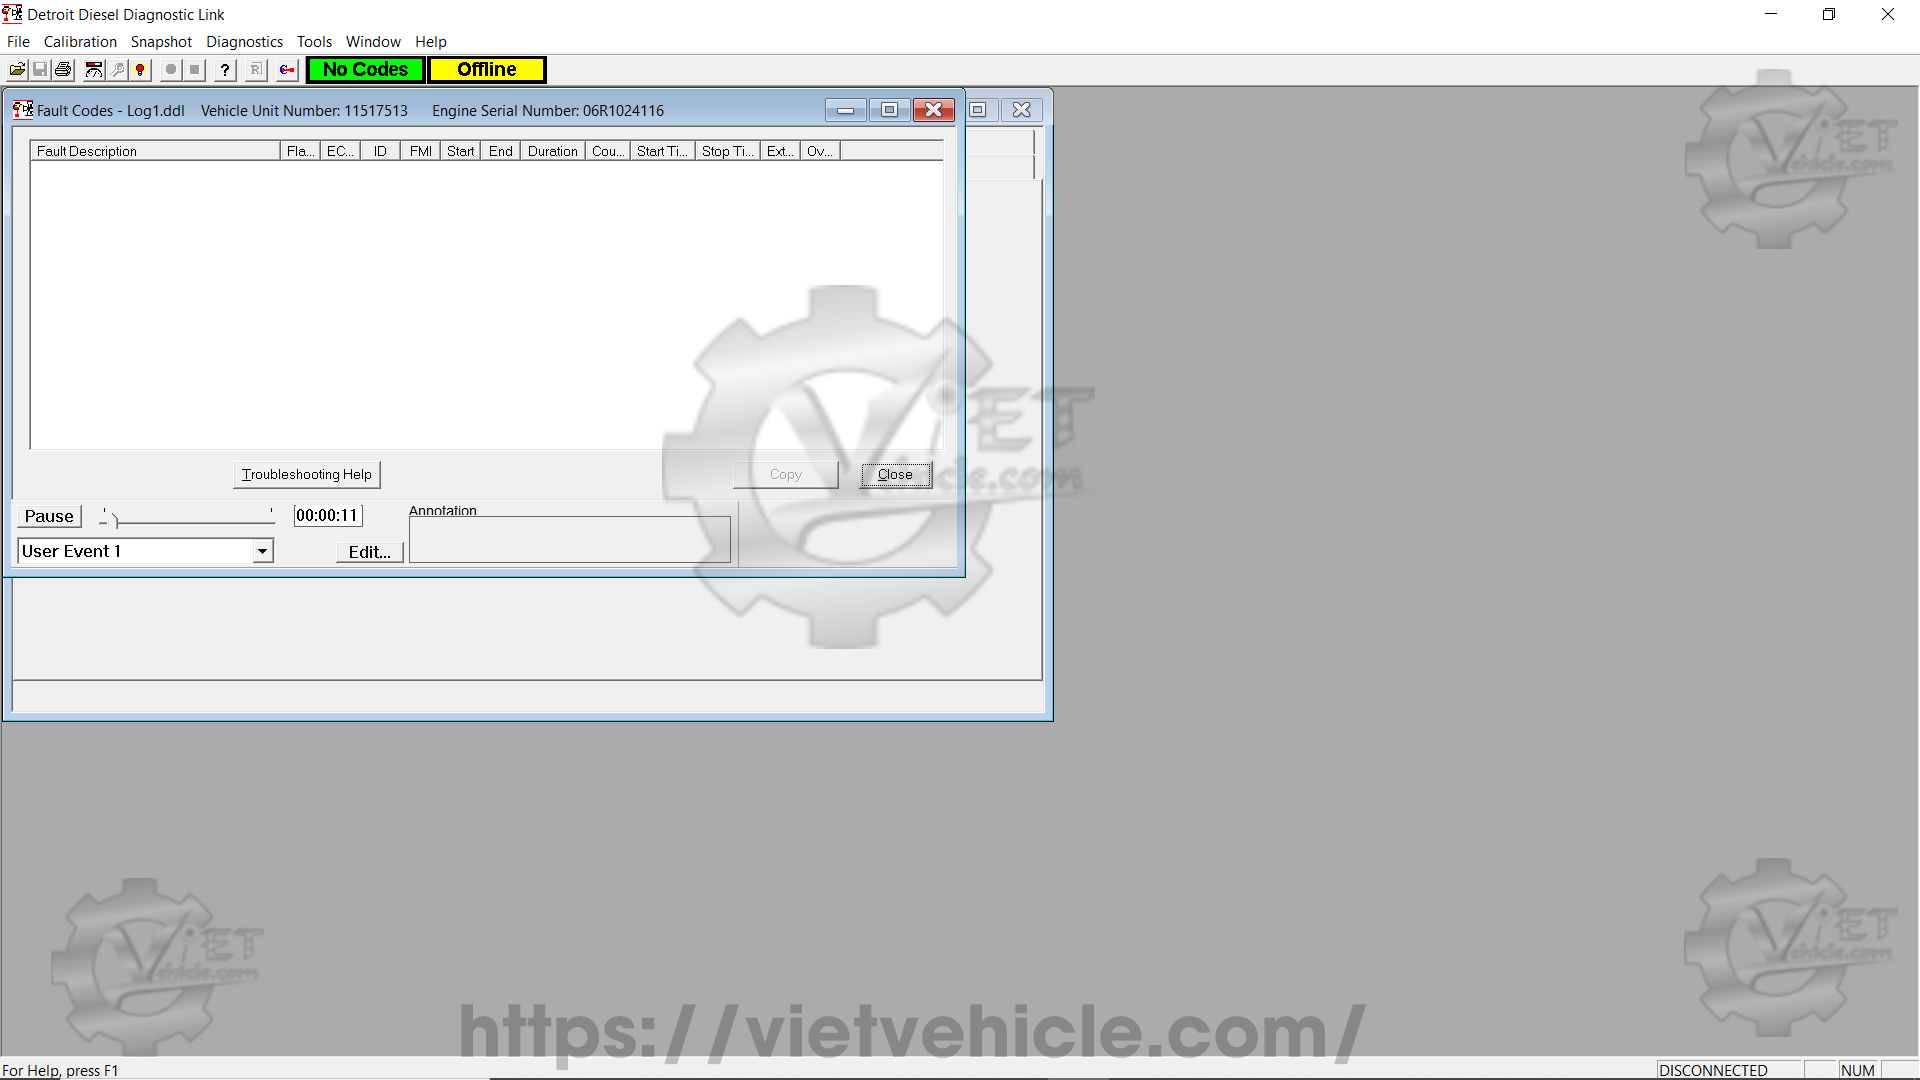
Figure 1.9 – Fault Codes Windows
Exporting a Snapshot to CSV
Snapshots can be exported to a comma-separated value (.csv) file for analysis in Microsoft Excel.
To export a snapshot:
a). Choose Snapshot to CSV from the Snapshot menu.
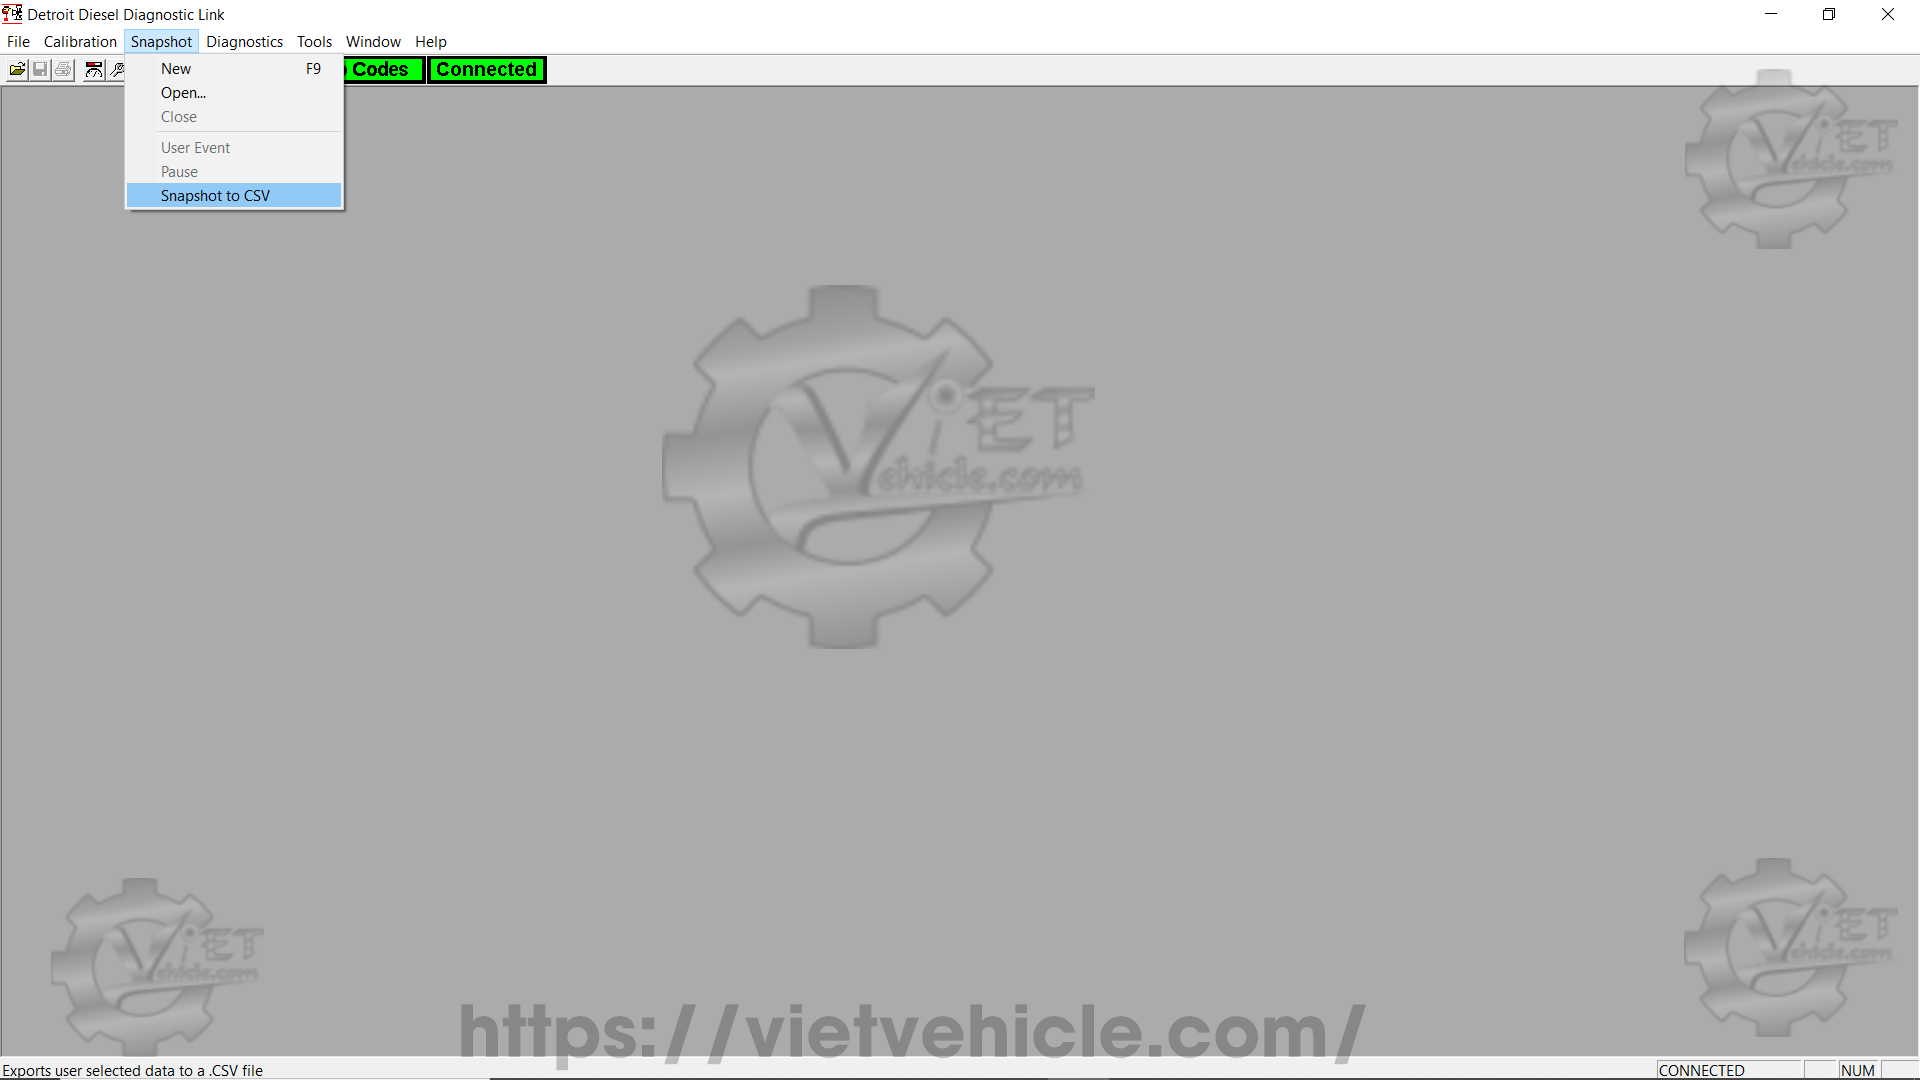
Figure 2.1 – Snapshot to CSV (Snapshot)
b). The Available box lists parameters not yet selected for export. The Selected box contains the chosen parameters.
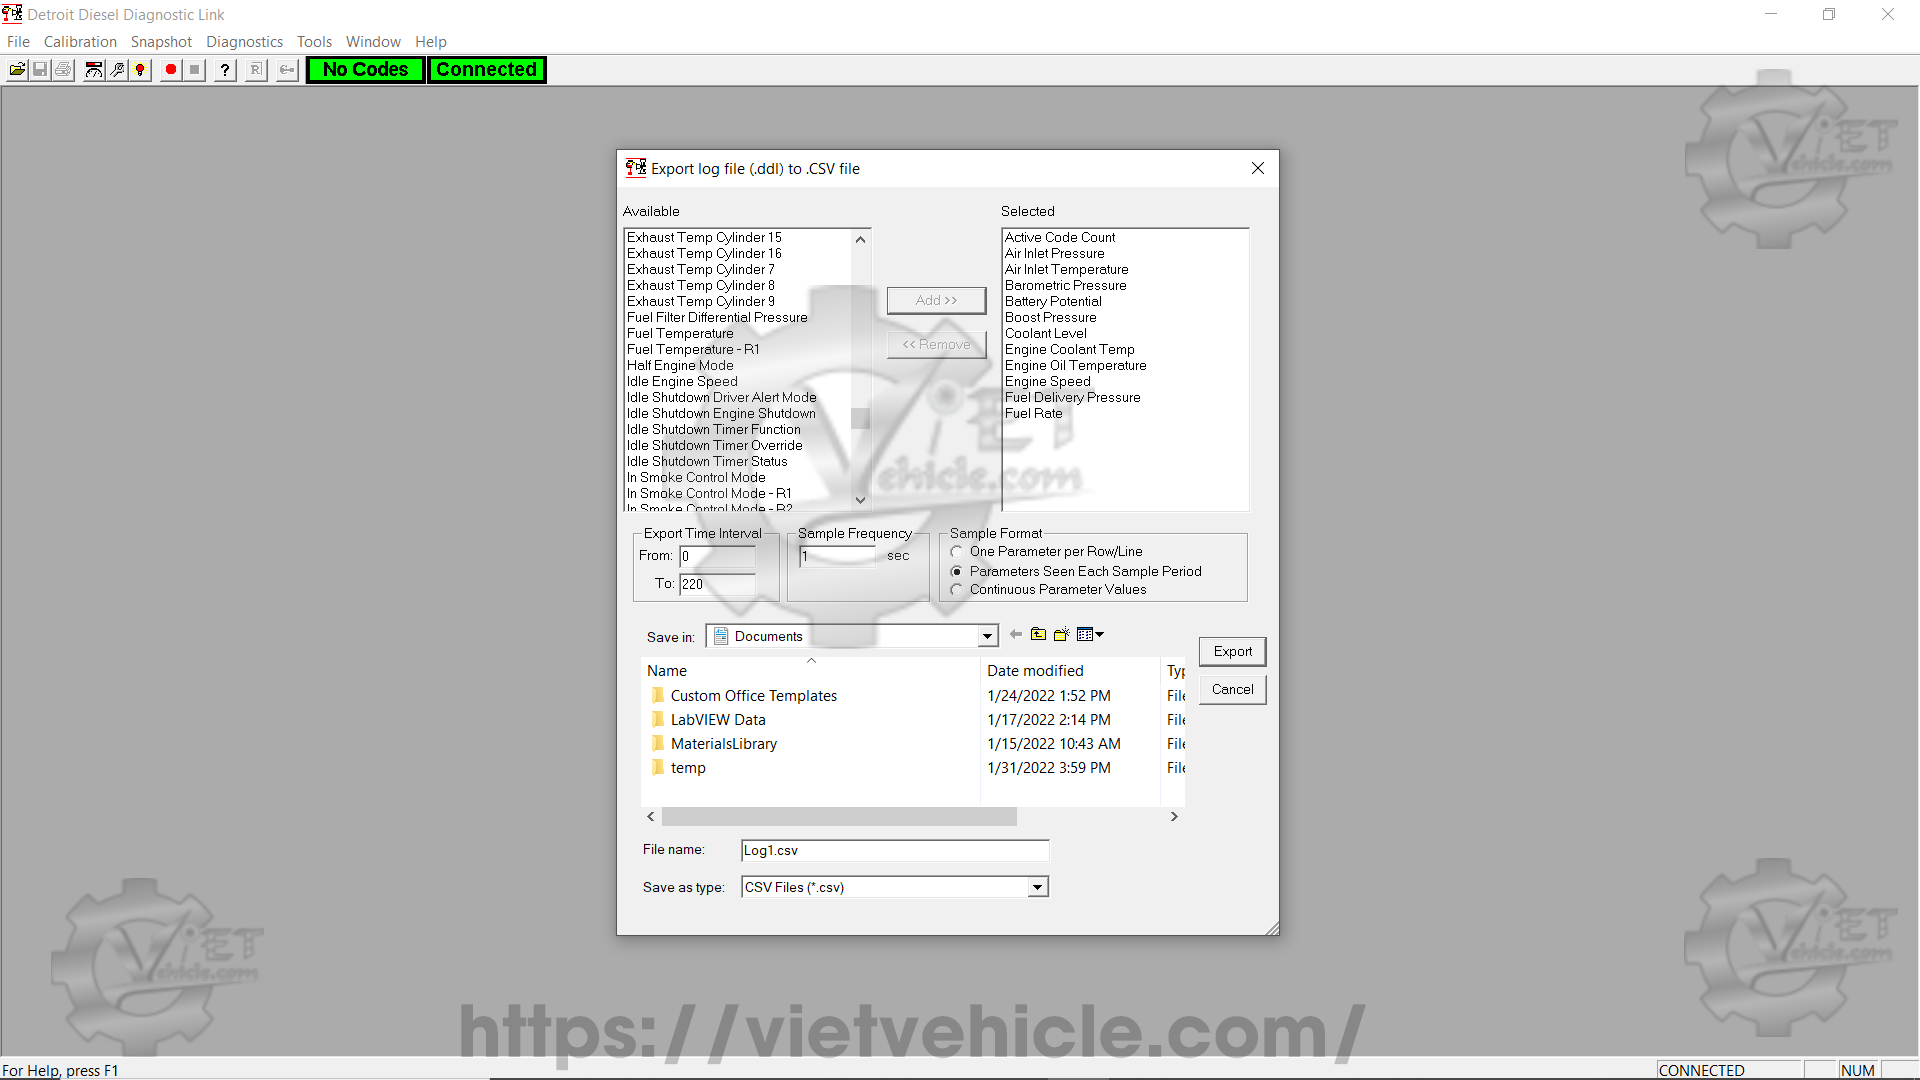
Figure 2.2 – Export log file (.ddl) to .CSV file
c). To move parameters:
→ Click a parameter to highlight it.
→ To select multiple in a row, click the first one, then Shift-click the last.
→ To add more, Ctrl-click additional parameters.
→ Press Add to move to Selected, or Remove to deselect.
d). Press Export to save the file.
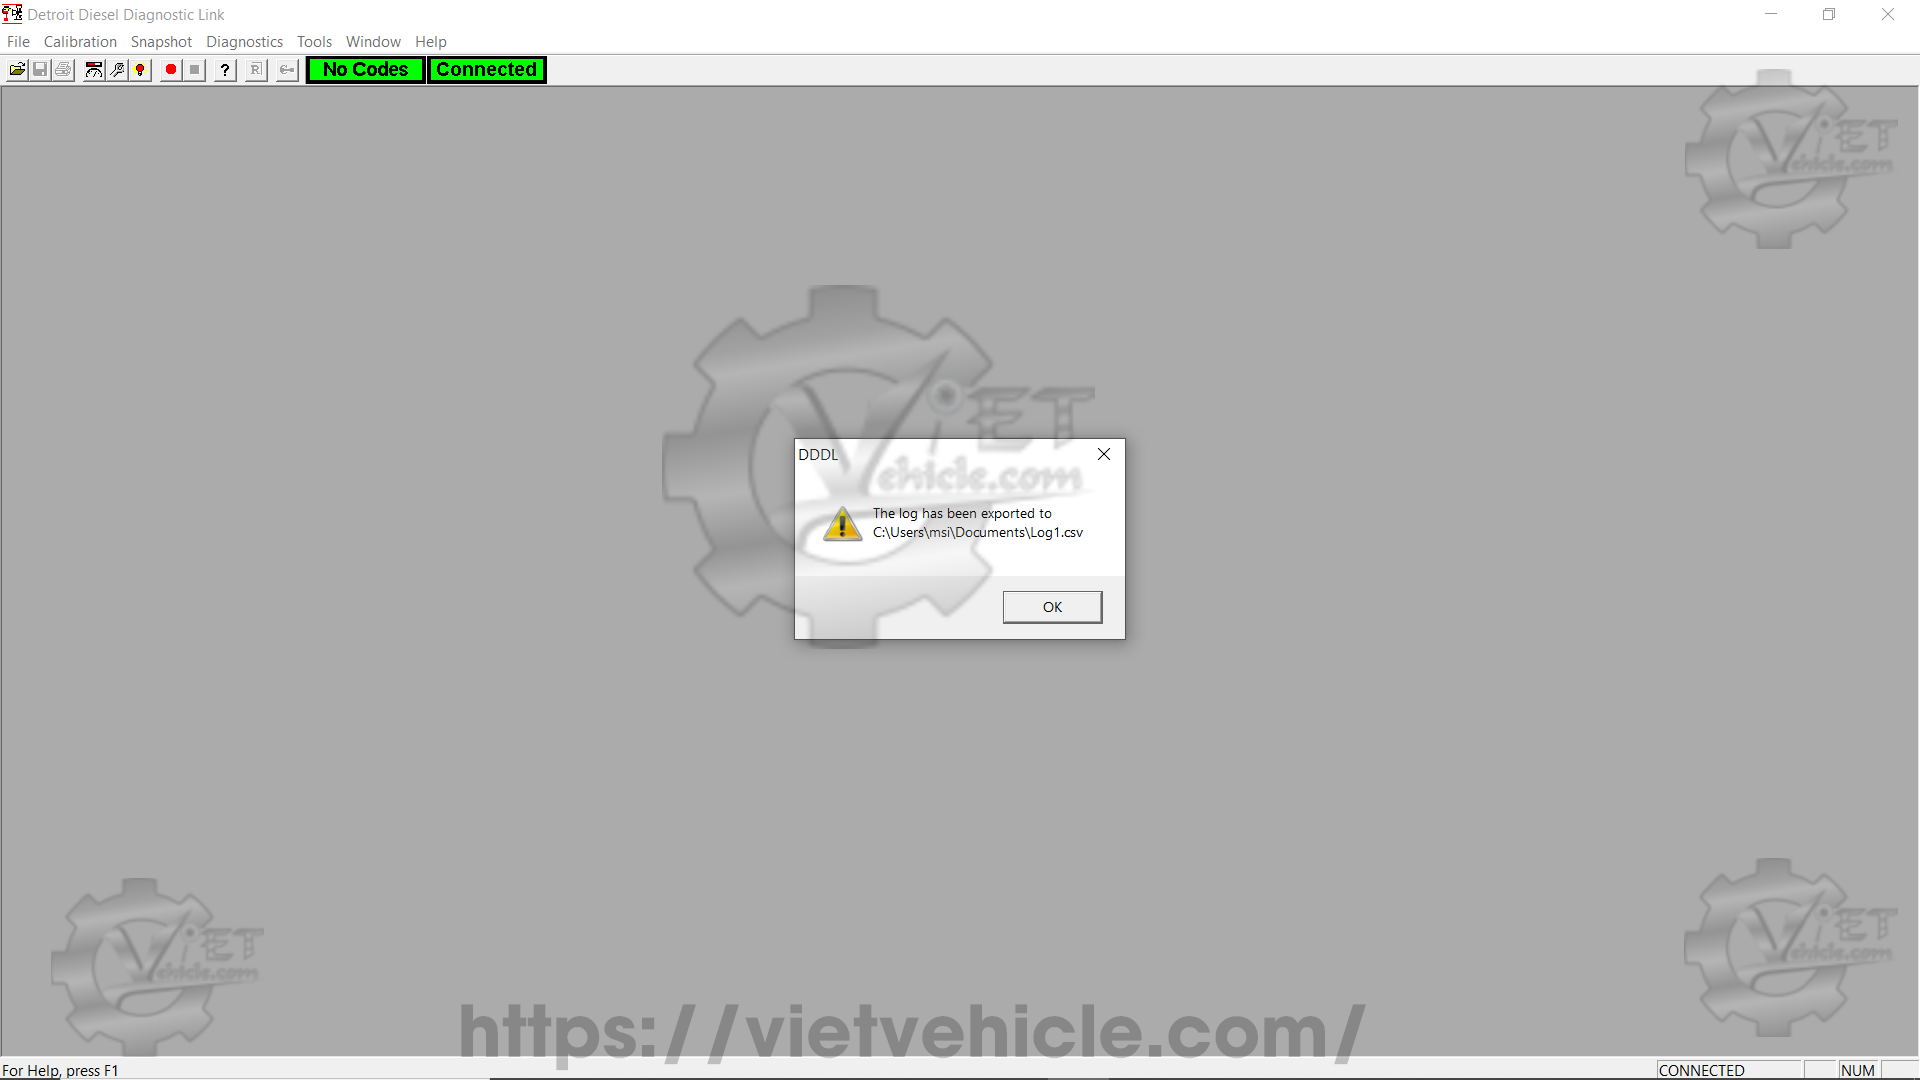
Figure 2.3 – Export
e). Open the .csv file in Microsoft Excel.
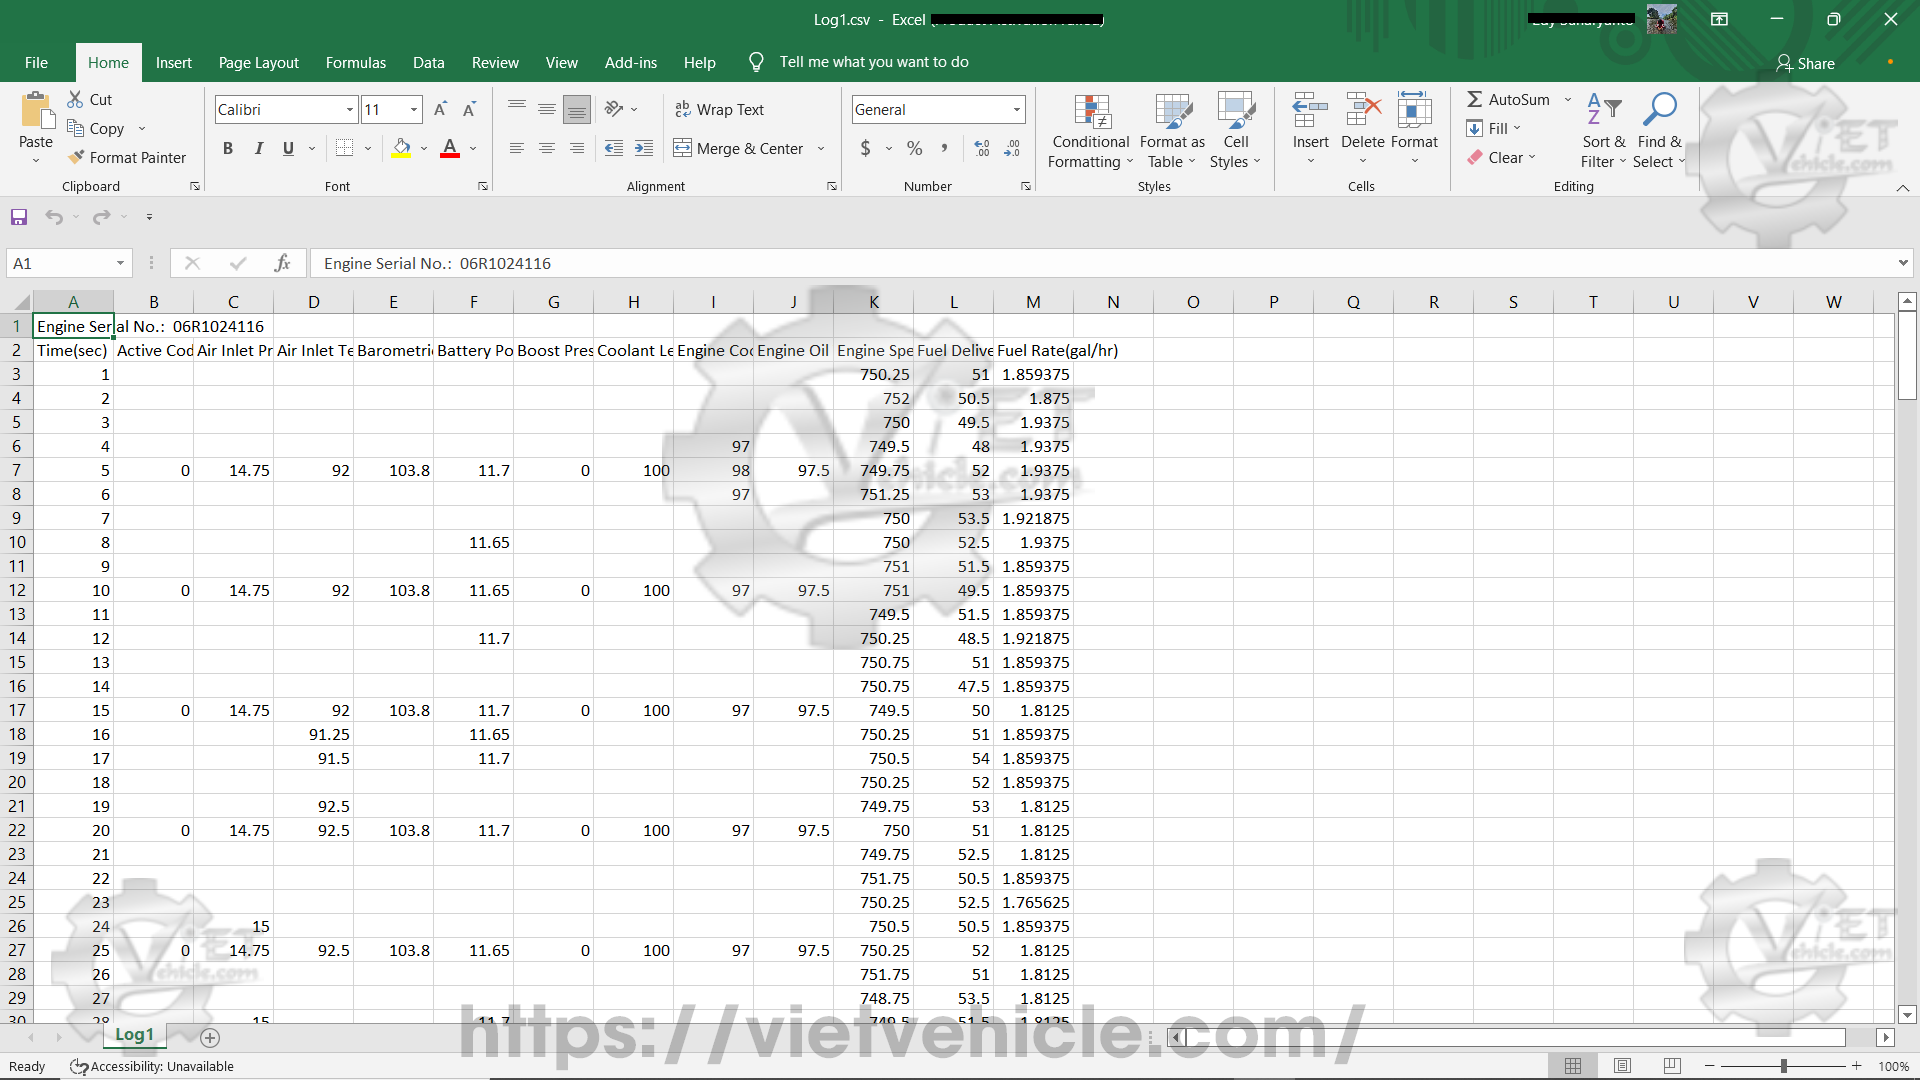
Figure 2.4 – Log1.csv
Contact Us
Whatsapp: +84.858.966.333
Facebook: VIETVehicle Remote Delete Service
YouTube: VIETVehicle – ECM Delete Tuning
Tiktok: VIETVehicle.com
Website: VIETVehicle.com


